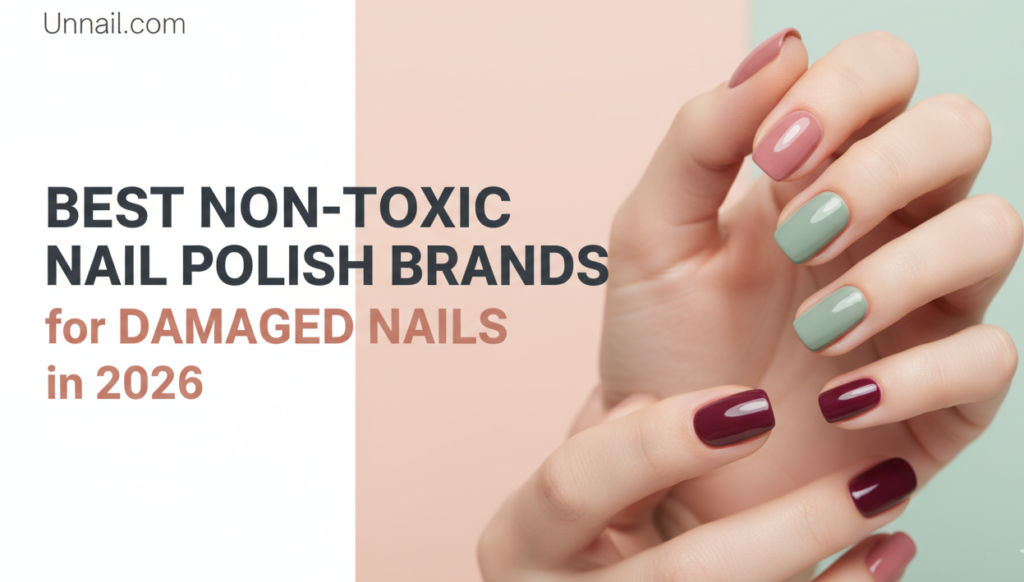
Non-Toxic Nail Polish Brands: What’s Actually Safe in 2026?
We’ve all been there—staring at those paper-thin, peeling nails after a gel removal. It’s a bit of a heartbreak, isn’t it? You want that clean, polished look, but your natural nails are essentially screaming for a break. To be honest, transitioning to non toxic nail polish brands isn’t just a “clean beauty” trend anymore; it has become a practical necessity for anyone trying to fix a damaged nail bed.
For a long time, the industry prioritized “staying power” over biological health. We now know that hiding damage under more chemicals just creates a cycle of thinning. Reclaiming your natural health requires a shift in how we think—moving away from suffocating lacquers toward formulas that actually respect the nail’s biology.
Why This Matters for Women with Damaged Nails
When your nail plate is compromised, it’s basically like a sponge. The hard outer layer is often gone after years of acrylics, leaving the sensitive layers beneath exposed. Using traditional polish on damaged nails is a bit like putting plastic wrap over a wound—it just doesn’t end well.
Standard lacquers contain solvents that dehydrate keratin cells, leading to that annoying layering where the tips of your nails just flake away. Beyond the physical sensitivity, there’s a real frustration in the cost of constantly going to the salon to “hide” the damage. By switching to high-quality clean brands, you’re finally letting your nails retain their natural oils.
Buying Guide: Decoding the 2026 Labels
Navigating labels feels like you need a chemistry degree these days. To keep it simple, here is what I look for when I’m scanning the back of a bottle.
1. The “Free” Hierarchy
10-free is the baseline now, but 21-free is the gold standard. These labels mean the brand has stripped out the most aggressive irritants and endocrine disruptors. If you’re pregnant or have super sensitive skin, 21-free is non-negotiable.
2. Breathable Technology
This is a game-changer. These formulas allow oxygen and water vapor to pass through the polish. It keeps the nail from becoming waterlogged or excessively dry, which is vital for preventing fungal issues while you’re healing.
3. Red Flag Chemicals
Keep an eye out for the “Toxic Trio”: Formaldehyde (a carcinogen used as a hardener), Toluene (a solvent that can make you dizzy), and DBP (an endocrine disruptor). In 2026, we’re also watching for TPHP, which can mess with hormone regulation.
Common Nail Recovery Mistakes to Avoid
Truth be told, even the best 10 free nail polish won’t save your nails if you’re making these common errors. One thing I noticed is that we often try to “fix” the damage too aggressively.
- Over-buffing: Trying to smooth out ridges with a coarse file just removes more keratin. It makes the nail thinner and more prone to snapping.
- Using Harsh Hardeners: Those old-school “nail strengtheners” often use formaldehyde. They make the nail feel hard instantly, but they also make it so brittle that it shatters like glass.
- Peeling Off Polish: Never do this. Even with non-toxic brands, peeling lifts the top layer of your nail cells right off with the color.
- Ignoring the Cuticle: Your nail health starts at the root. If you aren’t hydrating the cuticle, the new growth will be just as weak as the old stuff.
The Science of Keratin and Repair
From a scientific perspective, your nail is a complex structure of keratinized cells. The matrix—the area under your cuticle where the nail is born—is alive and very reactive to your environment. To truly recover, you have to protect the “seal” (the eponychium) to keep bacteria and chemicals from reaching that root.
A full growth cycle takes about 4 to 6 months. It’s a marathon, not a sprint. When you use a chemical free manicure approach, you’re basically creating a shield that mimics your nail’s natural barrier while it does the hard work of rebuilding itself.
🌿 Clean Nail Care Swaps for Stronger Natural Nails
If you want to transition to a recovery-focused routine, I suggest swapping out these common irritants for healthier alternatives. It makes a massive difference over time.
1. The Remover Swap
Ditch the 100% acetone. It’s like a desert for your nails. Look for soy-based or water-based removers with Vitamin E. They take a second longer to work, but they don’t leave your nails white and chalky.
2. The File Swap
Throw away those old emery boards. They create tiny tears in the nail edge. A glass nail file is a much better choice because it seals the keratin layers as you shape, preventing peeling later on.
3. The Cuticle Swap
Avoid caustic “cuticle removers.” Instead, use a simple nourishing oil—something with Jojoba is great because the molecules are small enough to actually sink in—and gently push the skin back with a soft cloth.
Your Step-by-Step Nail Recovery Plan
Ready to commit? Follow this protocol for about 3 to 6 weeks to see a real change in texture and strength.
1. The Detox Phase
Go 14 days without any polish at all. This lets your nails re-balance their pH and moisture levels without any interference.
2. Strategic Trimming
Keep your nails short and rounded. Long, square edges are just magnets for snagging and tearing while the nail is in its fragile recovery state.
3. Water Protection
Wear gloves when washing dishes. Water makes the nail expand and contract, which weakens the bonds over time. It sounds like a chore, but it’s one of the best things you can do.
4. Internal Support
Ensure your diet has enough protein and healthy fats. These are the building blocks your body uses to create new keratin from the inside out.
Comparison of Nail Polish Types for Recovery
| Product Type | Repair Strength | Toxicity Level | Best For |
|---|---|---|---|
| Standard Lacquer | None | High | Healthy nails |
| 10-Free Polish | Minimal | Low | General use |
| Breathable Polish | Medium | Very Low | Weak nails |
| 21-Free Treatment | High | Minimal | Severe damage |
The Environmental Perspective: Why Clean Matters
One thing I’ve thought a lot about lately is the environmental footprint of our manicures. When we use non toxic nail polish brands, we aren’t just saving our nails; we’re keeping harsh chemical runoff out of our water systems. Many 21-free brands are also moving toward sustainable packaging and vegan-friendly formulas, which feels like a win-win for everyone involved.
Recommendations for Your Recovery Journey
If you’re ready to start, I’ve found these types of products to be consistently helpful for repair.
- The Restorative Base Coat: Look for 21-free formulas with celery seed extract. They smooth ridges naturally without the need for buffing.
- Oxygenated Color: These use a molecular structure similar to a contact lens, allowing the nail to breathe even with color on.
- Soy-Infused Eraser: It feels more like an oil than a remover. It’s a bit of a luxury, but your cuticles will thank you.
FAQ: Answering Your Nail Health Questions
1. How long does it take to repair acrylic damage?
Usually, you’ll see a difference in about 3 to 4 weeks, but it takes 4 to 6 months for a completely new nail to grow in from base to tip.
2. Can I wear any polish during recovery?
I recommend a 2-week detox. After that, wearing a breathable, non-toxic treatment polish is actually better than going bare because it protects the fragile nail from water and impact.
3. Are biotin supplements worth it?
They can help if you have a deficiency, but they aren’t a magic fix. They work best when combined with a topical routine that prevents physical damage.
Conclusion: The Path to Resilient Natural Nails
Transitioning to non toxic nail polish brands is easily the most empowering thing you can do for your hands. Recovery isn’t always fast, but it’s incredibly rewarding to see your natural nails grow back thick and healthy. Just remember: healthy nails are rebuilt, not rushed. Take it one step at a time, be patient with the process, and focus on long-term health over a temporary high-shine finish.