The Reality of Post-Salon Nail Damage
We’ve all been there. You finally decide to take off those beautiful acrylics or that long-lasting gel, and suddenly, your natural nails feel like paper. They’re thin, they bend when you touch anything, and they start peeling in layers that you just can’t seem to stop. It’s incredibly frustrating, isn’t it? You want that clean, natural look, but your nails look like they’ve been through a blender.
To be honest, just painting over the problem with more polish doesn’t work. It just masks the damage while the structural integrity of your nail continues to crumble. If you’re serious about getting your hands back to a state where they look elegant even when bare, you have to look at cellular repair. Specifically, you need a high-quality keratin nail treatment. This isn’t just about shine; it’s about rebuilding the 50 or so layers of keratinized cells that make up a healthy nail plate.
The Science: Why Keratin is Your Best Friend
Think of keratin as the “bricks” and your natural lipids as the “mortar.” When we use harsh chemicals or mechanical filing at the salon, we’re essentially power-washing the mortar out from between the bricks. The result? Brittle, peeling nails.
1. Protein-Mimicking Molecules
Modern keratin nail serums are quite clever. They use hydrolyzed proteins that are small enough to actually sink into the nail plate rather than just sitting on top like a plastic film. They fill in those microscopic cracks you can’t even see.
2. Structural Reinforcement
By reinforcing the internal architecture, these treatments stop that “bendy” feeling. It gives the nail enough rigidity to withstand daily life without making it so hard that it shatters.
3. Creating a Breathable Shield
One thing I noticed is that people often forget nails need to “breathe”—or more accurately, they need to manage moisture. A good treatment lets oxygen through while keeping excess water out, which is a major culprit in nail peeling.
Stop Doing These 5 Things Immediately
Before you even buy a treatment, you have to stop the self-sabotage. I’ve seen so many people try to “fix” their nails while continuing habits that destroy them.
- Quit the buffing: You can’t sand away a peeling nail. You’re just making an already thin plate even thinner.
- Never peel your polish: I know it’s tempting when it starts to lift, but you are literally ripping off the top layers of your keratin cells.
- Avoid formaldehyde: Many old-school “hardeners” use this. It works fast, but it makes nails so brittle they eventually snap like glass.
- Don’t skip the oil: Protein without moisture is a recipe for disaster. You need both.
- Forget the “Quick Fix”: There is no overnight cure. It takes time for the damaged nail to grow out.
The 6-Step Recovery Protocol
If you’re ready to commit to a 4-to-6 week recovery phase, here is the plan that actually yields results. It’s a marathon, not a sprint, but your future self will thank you.
1. The Polish Sabbatical
Go bare for at least two weeks. Your nails need to interact with the treatments directly without a barrier of lacquer in the way.
2. Short and Square
Keep your nails short while they heal. Longer nails act like levers; any bump or snag will put immense pressure on the weak nail bed.
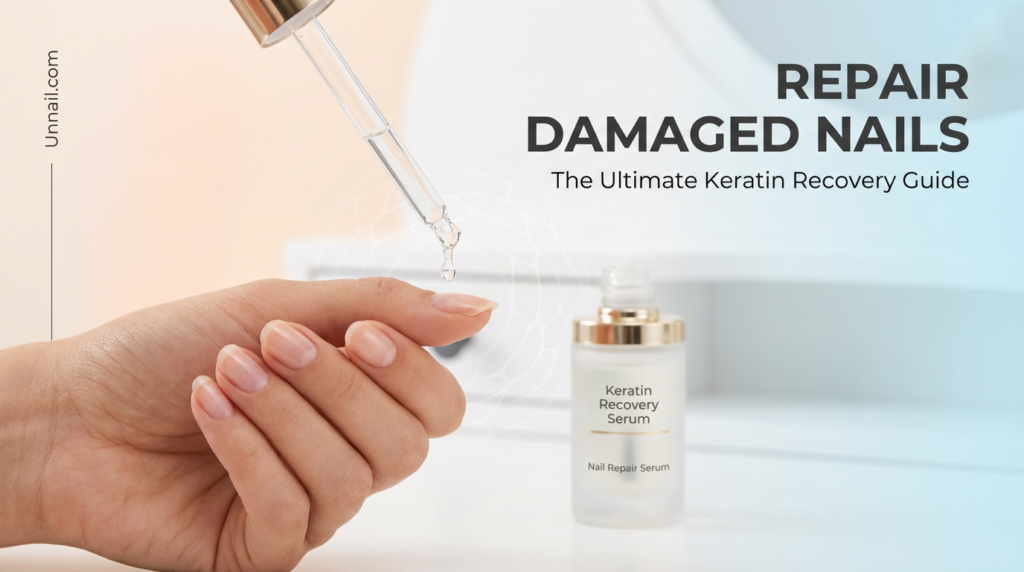
3. Twice-Daily Keratin Serum
Apply your serum to the nail plate, the tips, and the lunula (that little white half-moon). This is where the magic happens.
4. The Jojoba Rule
Apply cuticle oil at least three times a day. Jojoba is the gold standard because its molecular structure is remarkably similar to our own natural oils.
5. Glass Files Only
Ditch the emery boards. A glass file seals the keratin layers together as you file, preventing future peeling at the edge.
6. Internal Support
Make sure you’re getting enough biotin and zinc. What you put in your body builds the foundation for the keratin your nails are trying to produce.
The UNNAIL Longevity Score: What to Buy
In my experience, being a “label detective” is the only way to find products that actually work. We use a 10-point scale to help you decide.
| Treatment Type | Key Benefit | Longevity Score |
|---|---|---|
| Hydrolyzed Keratin Serum | Deep cellular repair | 9/10 |
| Breathable Base Coat | Protection while growing | 7/10 |
| Jojoba Cuticle Oil | Elasticity & hydration | 8/10 |
Personal Observation: The “Nail Break” Philosophy
One thing I’ve noticed over years of trying different products is that we often over-complicate things. Sometimes, the best thing you can do for your nails is to let them be. After a heavy keratin treatment, give your nails a “rest day” where you only apply oil. Think of it like a rest day at the gym; it allows the proteins to settle and the moisture levels to stabilize. Believe it or not, doing a little less can sometimes speed up the process.
Your Recovery Questions Answered
How long until I see a difference?
You’ll likely feel a difference in hardness within 2 weeks. However, to actually “fix” a peeling nail, you have to wait for the damaged part to grow out, which takes about 3 to 6 months depending on your growth rate.
Is biotin actually worth it?
It helps if you’re deficient, but it’s not a magic pill. Topical keratin is much faster at addressing surface damage like peeling and splits.
Can I still use regular polish?
If you must, go for a “10-free” formula. Avoid traditional acetone removers at all costs during recovery; they are essentially like paint stripper for your natural oils.
Final Thoughts on Healing
Repairing your nails isn’t about finding one miracle product. It’s about changing the way you view nail health. By switching to a keratin-focused routine, you’re moving away from temporary fixes and toward long-term biological health. It takes a bit of patience, but the first time you look down and see strong, smooth, natural nails, you’ll know it was worth every drop of serum.
Ready to start? Grab a glass file, find a serum with hydrolyzed keratin, and let the healing begin.